 |
 |
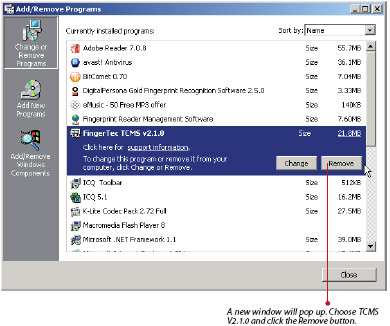
| Wait for the remove process to finish. |
|
|
| Step 2 |
 |
Install TCMS V2.1.1. |
|
| Run the setup file from CD or download file. |
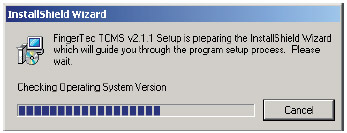 |
| Installation is in progress. |
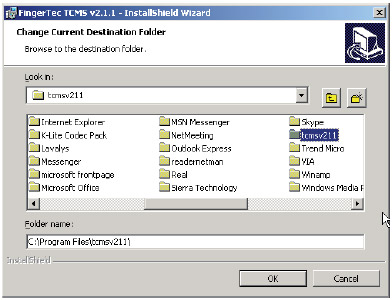 |
Choose to install into the same folder as TCMS V2.1.0.
This could keep all database of your old TCMS V2.
Click OK to proceed |
| |
| |
| |
| |
|
|
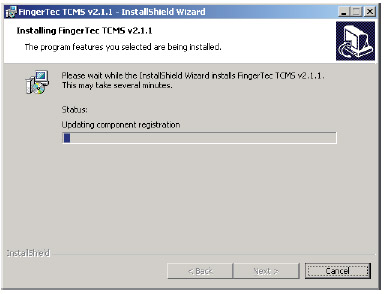 |
| Installation of TCMS V2.1.1 is in progress. |
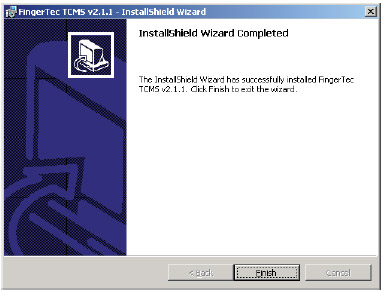 |
| Click Finish to end the process. |
| Step 3 |
|
Remove the TCMS V2.1.0 by using the Add/Remove Program in Control Panel. |
|
| |
|