Installation of FingerTec® GPRS Tool |
||||||
| The FingerTec® GPRS tool is designed to communicate with FingerTec® terminals that are integrated with GPRS module, for details configuration. Obtain the tool from FingerTec Worldwide before attempting to configure the GPRS settings in the terminal(s). Kindly contact support@fingertec.com to get GPRS tool. | ||||||
| Step 1 | ||||||
 |
||||||
| Run the FTGPRSTool.exe | ||||||
| Step 2 | ||||||
 |
||||||
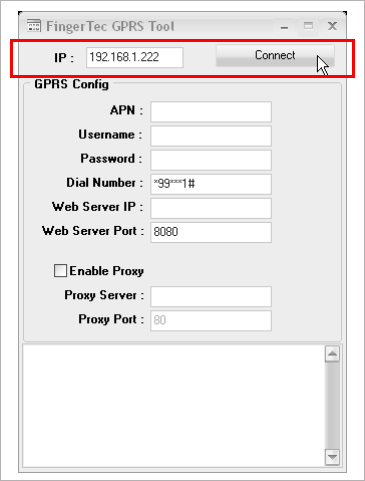
| Connect the FingerTec® terminal via LAN cable. Insert the IP address of the terminal and click Connect to start. |
||||||
| Step 3 | ||||||
 |
||||||
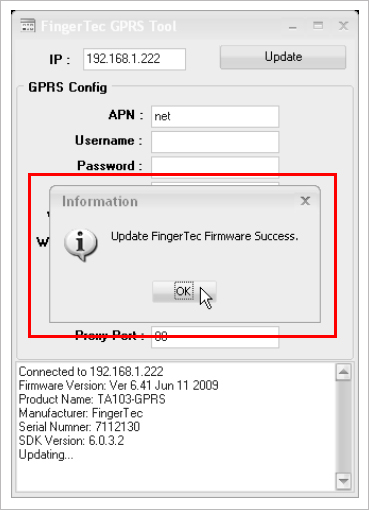
| If connection to the terminal is successful, the information has been read from the terminal and displayed at the bottom of the tool. Check the information provided to make sure that you are connecting to the correct terminal.
Under GPRS Config, please insert the corresponding information to be updated to the terminal. |
||||||
| Step 4 | ||||||
 |
||||||
| A message will pop up after a successful update process. Click OK to proceed. | ||||||
| Step 5 | ||||||
 |
||||||
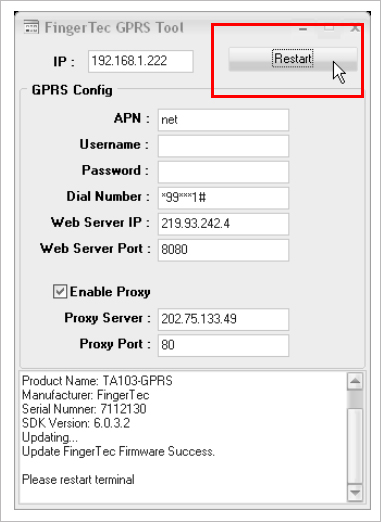
| Click Restart for the new settings to take effect. | ||||||
Installation of FingerTec® Web Server |
||||||
The FingerTec® Web Server is recommended to be installed into a PC as a server. This server (PC with FingerTec® Web Server installed) must be entitled to a fixed IP address, which allows the server to communicate with FingerTec® terminals via GPRS connection. |
||||||
| The functions of FingerTec® Web Server are: | ||||||
|
||||||
| The information will be stored in MySQL database. You need to link FingerTec® TCMS V2 software to the MySQL database to retrieve information for time attendance calculation or reporting. You can also fully utilize the information in MySQL database using your own software or application. | ||||||
| Step 1 | ||||||
 |
||||||
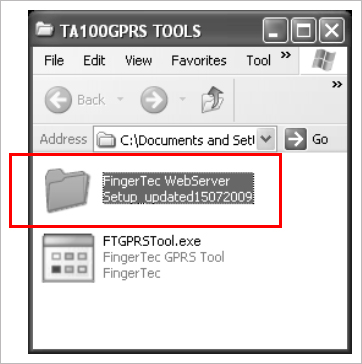
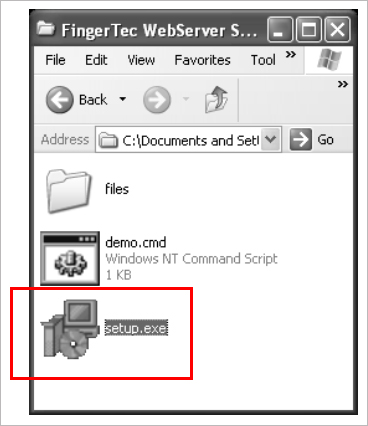
| Open the FingerTec® Web Server folder. | ||||||
| Step 2 | ||||||
 |
||||||
| Run setup.exe to start installation. | ||||||
| Step 3 | ||||||
 |
||||||
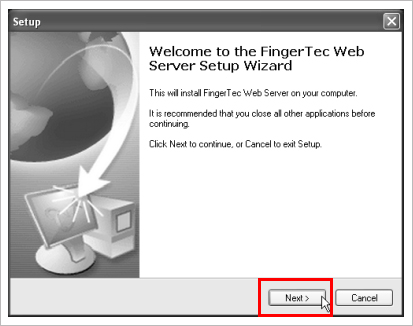
| Click Next to start. | ||||||
| Step 4 | ||||||
 |
||||||
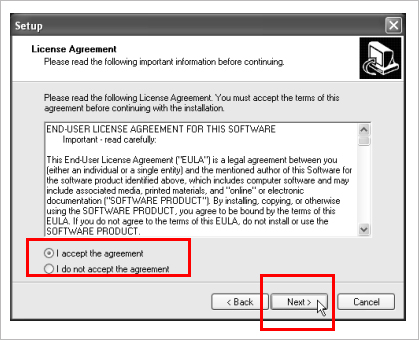
| Read to understand the terms and conditions in the license agreement. Click “I accept the agreement” and Next to proceed. | ||||||
| Step 5 | ||||||
 |
||||||
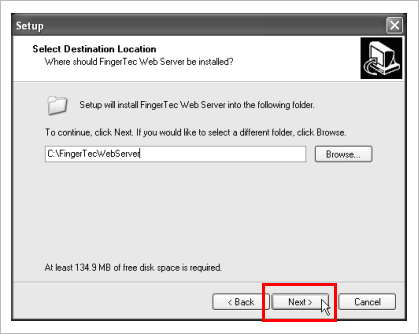
| Click Next to install. | ||||||
| Step 6 | ||||||
 |
||||||
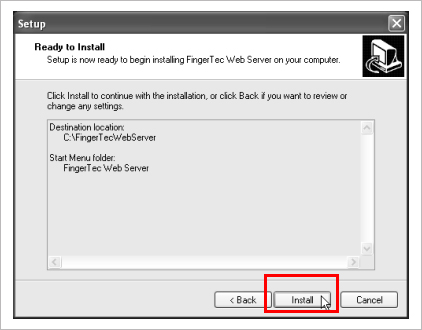
| Click Install to initiate the installation process. | ||||||
| Step 7 | ||||||
 |
||||||
| The installation will take a few minutes to complete. | ||||||
| Step 8 | ||||||
 |
||||||
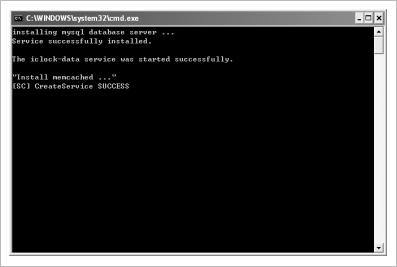
| An MSDOS screen will pop up after installation and it will disappear after a few seconds. | ||||||
| Step 9 | ||||||
 |
||||||
| Click Finish to end the process. | ||||||
| Step 10 | ||||||
 |
||||||
A new icon for FingerTec® Web Server will be created on the desktop. |
||||||
| Operation of FingerTec® Web Server | ||||||
| The FingerTec® Web Server application allows administrator to communicate and to control FingerTec® terminals in all operations. | ||||||
| Login to FingerTec® Web Server | ||||||
 |
||||||
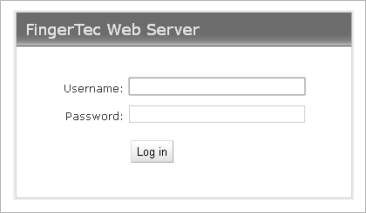
| During login, the default username and the default password are “admin”. | ||||||
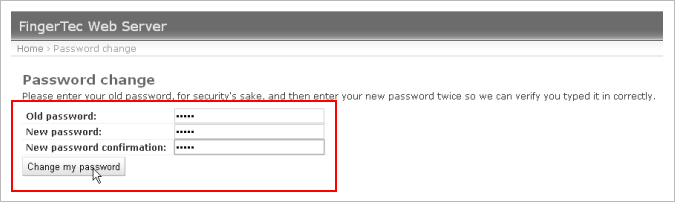
| It is necessary to change the password after the first time login to ensure security. | ||||||
 |
||||||
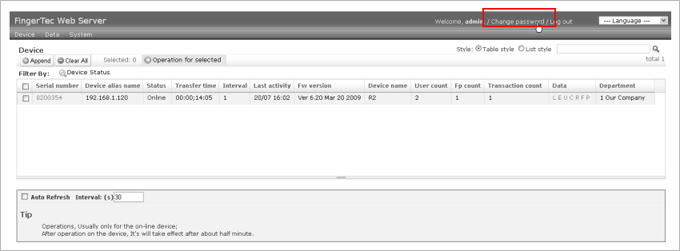
| Click Change Password. | ||||||
 |
||||||
| Insert the old password and the new password. Click “Change my password” to the save settings. | ||||||
| To Check Status of FingerTec® Terminals | ||||||
 |
||||||
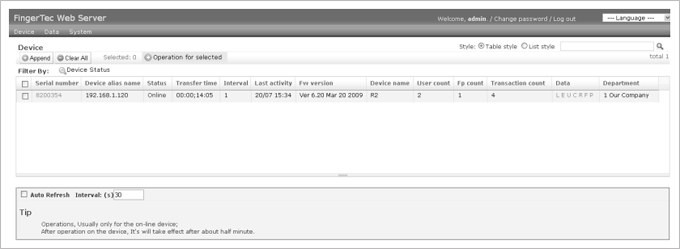
| FingerTec® Web Server will always be connected to the FingerTec® terminals during start-up. All information retrieved from the terminals will be displayed on the FingerTec® Web Server i.e. serial number, IP address, device name, total users etc. | ||||||
| To Monitor Activities at FingerTec® Terminals | ||||||
| FingerTec Web Server allows administrator to do the followings: | ||||||
 |
||||||
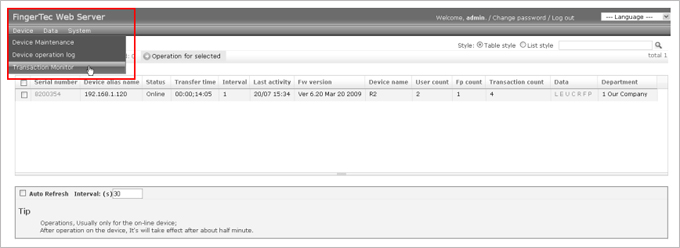
| Select “Transaction Monitor” under Device. | ||||||
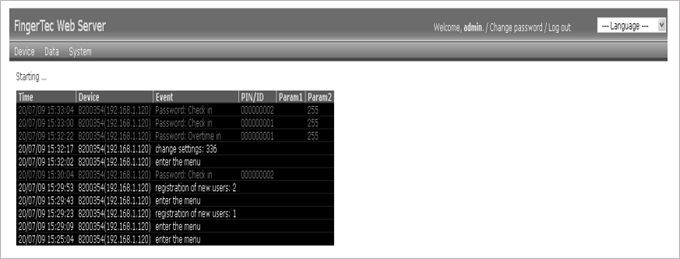
| All activities i.e. new user enrollment with a user ID, verification of user, clocking status etc are displayed on the screen. Administrator can monitor any activities of users and terminals immediately from this screen. | ||||||
 |
||||||
| User Management | ||||||
| Every new enrolled users (with fingerprint, password or cards) are downloaded into FingerTec® Web Server immediately. If enrollment is done before FingerTec® Web Server is turned on, the download process resume once it is online. Therefore administrator does not need to download any users from any terminals. | ||||||
 |
||||||
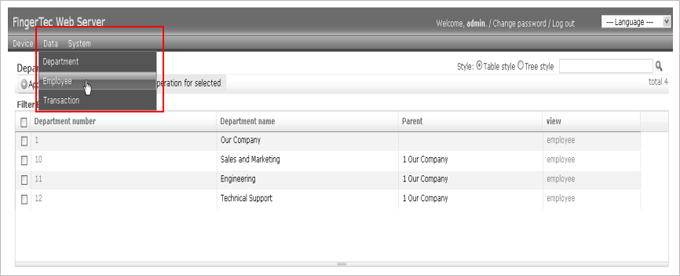
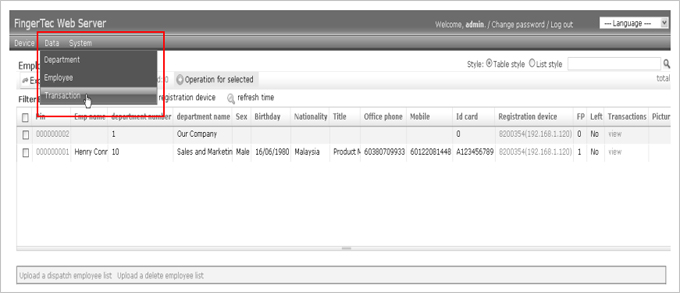
| Under Data, select Employee. | ||||||
 |
||||||
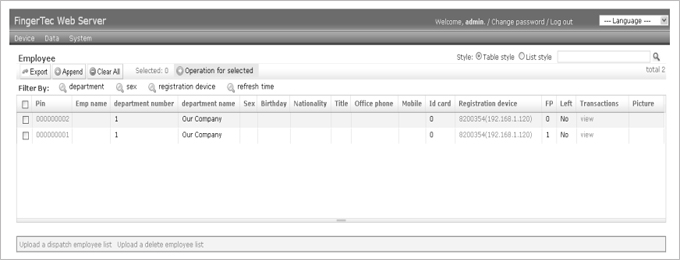
| FingerTec® Web Server will connect to all terminals to gather all user information. The process will be fully automatic. | ||||||
 |
||||||
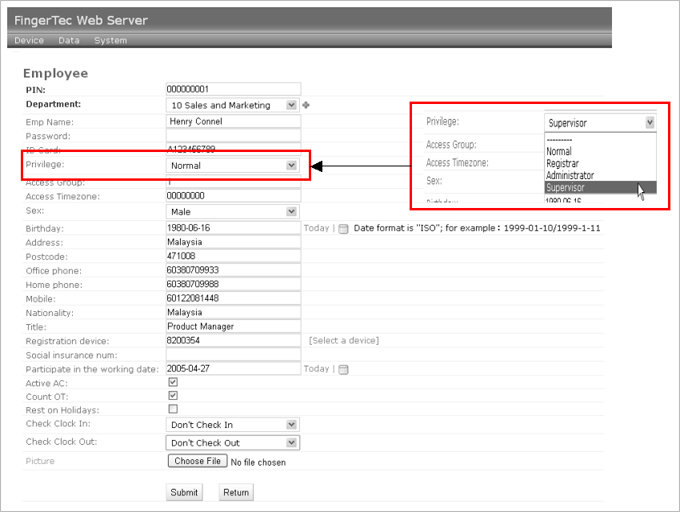
| Click the User ID to edit his/her additional information. | ||||||
 |
||||||
| The user information is optional. However please take note of user’s “Privilege”. There are a few levels of privilege, which are normal, register, administrator and supervisor (please check user privilege in Hardware User Manual). | ||||||
 |
||||||
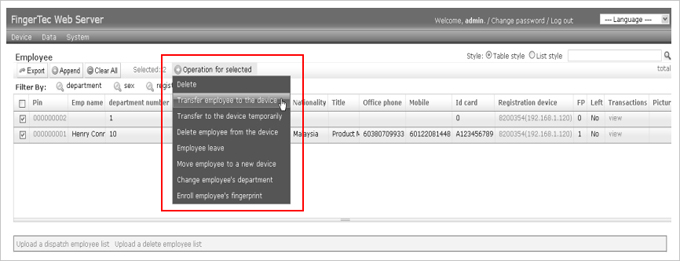
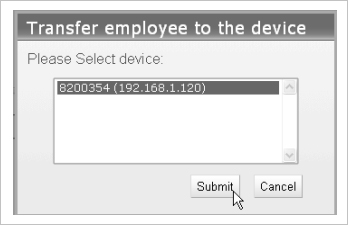
Administrator can transfer a user to another terminal without re-enrolment. |
||||||
 |
||||||
| Select the serial number of the destination terminal. Click Submit to proceed. | ||||||
| To check transaction logs from FingerTec® Terminals | ||||||
The FingerTec® Web Server will automatically download transaction logs from all connected terminals during the start up process. During operation, all transaction logs are downloaded into the FingerTec® Web Server immediately. |
||||||
| To check transaction logs: | ||||||
 |
||||||
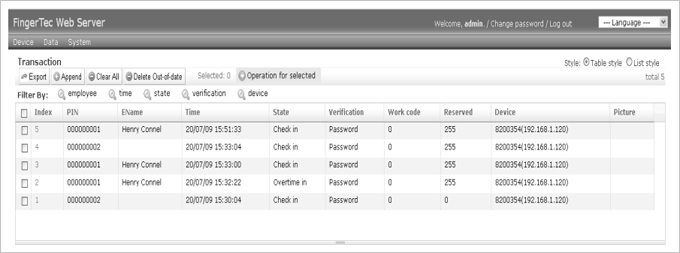
| Under Data, select Transaction. | ||||||
 |
||||||
All transaction logs will be displayed on the screen. |
||||||
| To assign administrator to FingerTec® Web Server | ||||||
| Administrator can assign more users with administrator privilege. | ||||||
 |
||||||
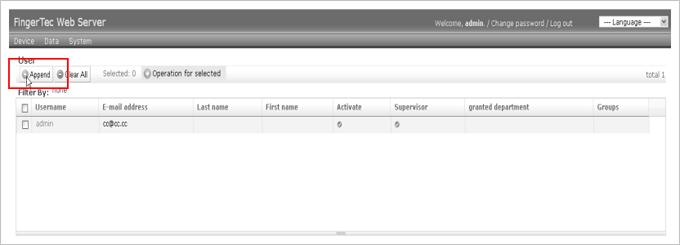
| Under System, select User. | ||||||
 |
||||||
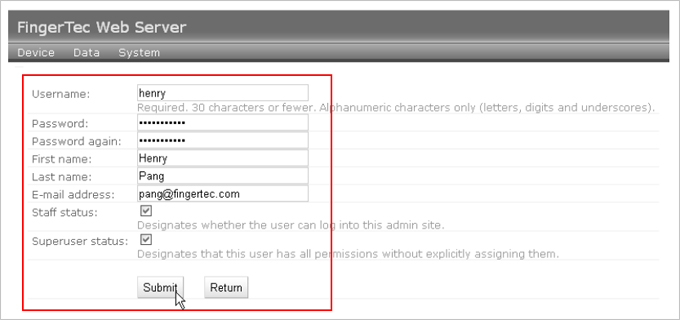
| Click Append to add new administrator. | ||||||
 |
||||||
| Fill in all information and click Submit. |