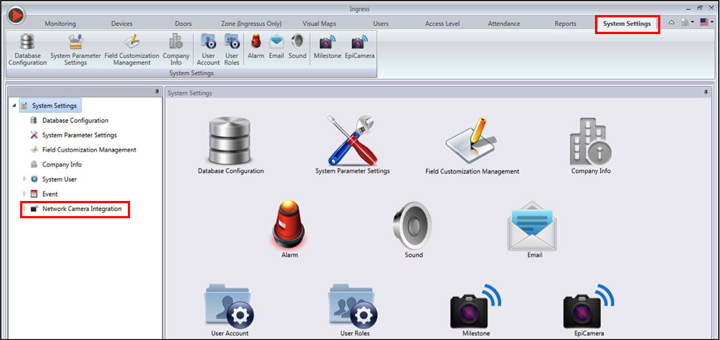
| An Internet protocol camera, or IP cam, is a digital video camera that sends and receives data via a computer network or the Internet. Primarily used for surveillance, the rise in available & affordable IP cams has been a major boost to the security industry as it makes implementations more feasible and accessible to all markets. As such, an increasing segment of the consumers are already implementing these cameras or planning to do so to improve the comprehensiveness of their security systems. Ingress, the Advanced Access Control System, recognizes this shift in consumer behavior and currently supports integration with the Cloud Surveillance System provider, EpiCamera, and Milestones’ XProtect Series.
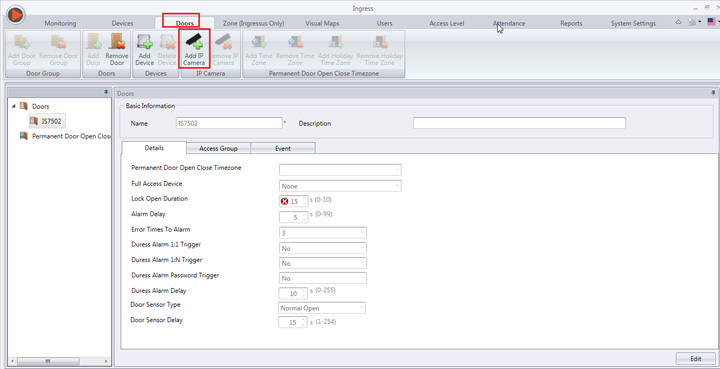
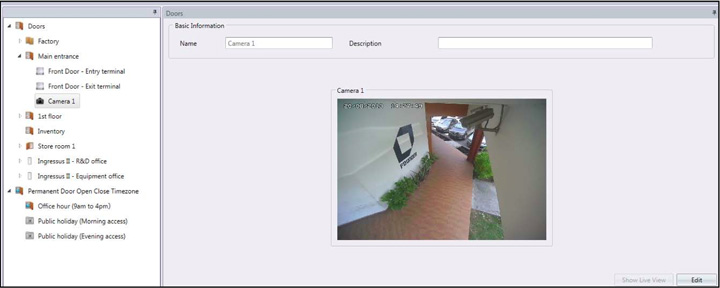
Inside the Ingress software, it is possible to pair a monitored door with an IP cam that is connected to either EpiCamera or Milestones’ XProtect Series to increase security at said door. This will be especially useful when the administrator needs to view footage of an event when there is an abnormality reported. The Ingress system will automatically start recording these abnormal events (such as door forced open) under its Monitoring tab, and administrators can access the footage for viewing. The recording can also be exported into various image or video formats such as AVI, MKV, BMP, JPEG, PNG, GIF and TIFF.
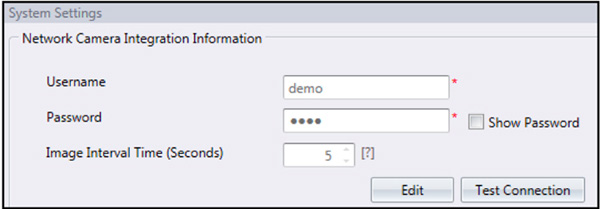
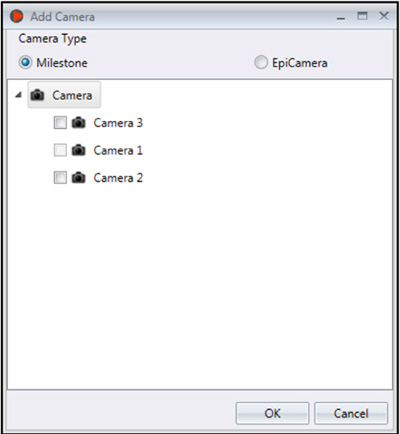
All a user needs is an IP cam that is connected with either EpiCamera or Milestones to start using this feature in Ingress, all with just a few simple steps. For the example below, we will use an IP cam that is connected to EpiCamera. |