|
| ___________________________________________________________________________________________ |
| FingerTec has compiled a list of error messages that occasionally pops up in the TCMS V2 software and have documented the solutions to the problems. Resellers are encouraged to take notice of these problems, to be able to provide support when required. Understanding the problems and their solutions could reduce support lead time which could then translate to more satisfied customers. |
| |
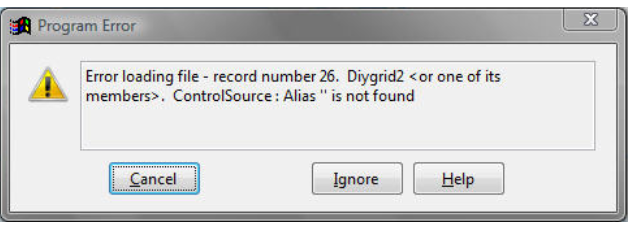
| Q. A click on the TCMS V2 icon could trigger this error message. |
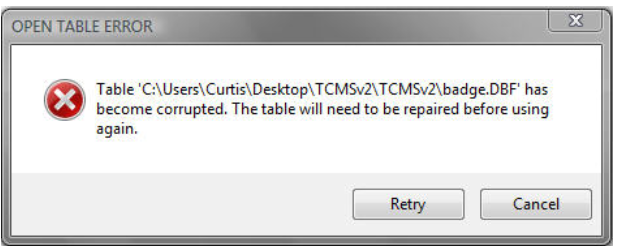 |
| Reason: The badge.dbf file in the TCMSv2 folder is corrupted. |
| |
| Solution: |
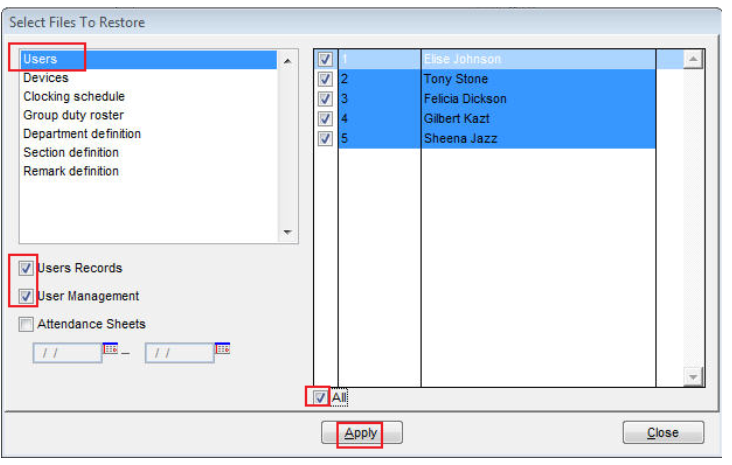
| You need to close the TCMSv2 software and delete the badge.dbf file in the TCMSv2 folder. It will delete the data in Users. Then open the TCMSv2 and restore the User information from the latest backup database in the backup folder, by using the restore option function. To restore the user information: |
| 1. |
Go to configuration. |
| 2. |
Double click at backup/restore database. |
| 3. |
Select the database that you want to restore and click restore option button. |
| 4. |
Select Users and tick at the Users Records and User management checker. |
| 5. |
Check all boxes and click the Apply button. |
|
 |
| |
| Q. A click at Attendance sheet could trigger this error message |
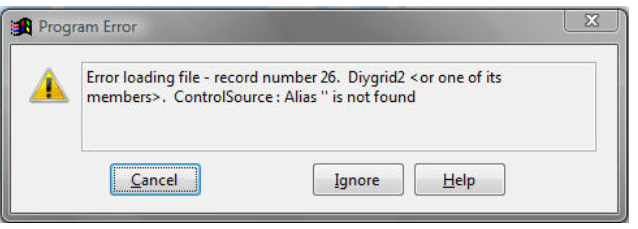 |
| Reason: The attend.dbf file is corrupted. |
| |
| Solution: |
| Please close the TCMSv2 software and delete the attend.dbf and attend.cdx file in the TCMSv2 folder. It will remove all transactions in the attendance sheet. To return the clocking data to the attendance sheet: |
| 1. |
Go to Attendance. |
| 2. |
Click Generate button. |
| 3. |
Select all users and the date range of the data that you want to retrieve. |
| 4. |
Click the Generate button. The system will retrieve the data from the terminal data audit list and the transaction will appear in the attendance sheet based on the existing configuration. |
|
| |
| Q. A click on the history attendance could trigger this error message: |
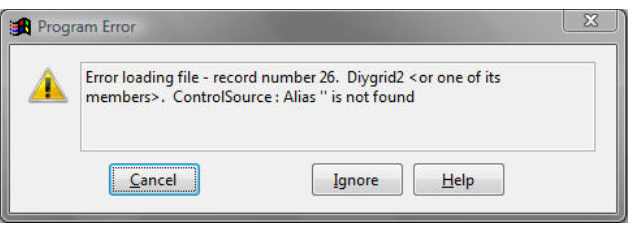 |
| Reason: The history.dbf file is corrupted. |
| |
| Solution: |
| Please close the TCMSv2 software and delete the history.dbf and history.cdx file in the TCMSv2 folder. It will remove all transactions in the history attendance. To return the clocking data to attendance sheet:
|
| 1. |
Go to History Attendance. |
| 2. |
Click the Generate button. |
| 3. |
t all users and the date range of the data that you want to retrieve. |
| 4. |
Click the Generate button. The system will retrieve the data from the terminal data audit list and the transaction will appear in the history attendance based on the existing configuration. |
|
| |
| Q. A click on the terminal data audit list could trigger the below error message. |
 |
| Reason: The fptaudit .dbf file is corrupted. |
| |
| Solution: |
| Please close the TCMSv2 software and delete the fptaudit.dbf and clkdata.dbf file in the TCMSv2 folder. It will remove the raw clocking data in the terminal data audit list. To retrieve the raw clocking data: |
| 1. |
Go to etcom folder and copy the _etcom file. |
| 2. |
Then paste the _etcom file at the remote folder in TCMSv2 folder. |
| 3. |
Open the TCMSv2 and click the Download button in attendance. |
| 4. |
The system will download the raw clocking data from the _etcom file. |
| 5. |
After the process is complete, the system will delete the file that you pasted in the remote folder. |
|
| |
| Q. Our client had restored the previous backup database by accident and the system replaced
the current database with the restored database. How can I retrieve the latest clocking
data? |
| |
| You can retrieve the clocking data from the etcom file by doing the following: |
| 1. |
Go to etcom folder and copy the _etcom file. |
| 2. |
Then paste the _etcom file at the remote folder in TCMSv2 folder. |
| 3. |
Open the TCMSv2 and click the Download button in attendance. |
| 4. |
The system will download the raw clocking data from the _etcom file. |
| 5. |
After the process is complete, the system will delete the file that you paste in the remote folder. |
|
| |
| Q. We want to install the TCMSv2 that we used in the current PC to a new PC. However before we could restore the
backup database, we have accidentally downloaded the clocking data to the new PC. How do we merge the database clocking data from these two PCs? |
| |
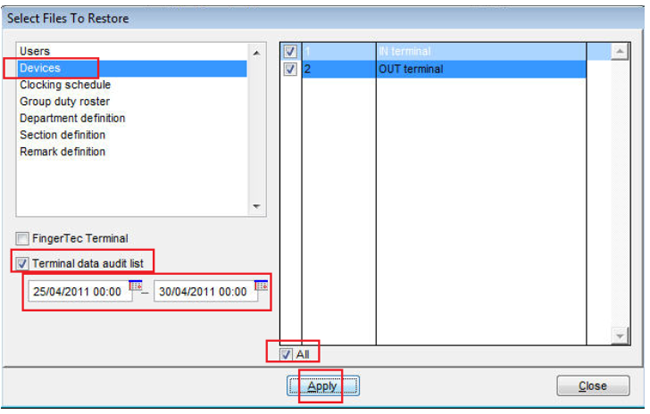
| Backup the database at the new PC. Restore the old PC’s backup database at the new PC. Use the restore option function to restore the clocking data from the new PC backup database. To restore the clocking data: |
| 1. |
Go to Configuration. |
| 2. |
Double click at Backup/Restore Database. |
| 3. |
Check at the Restore Database checker. |
| 4. |
Select the new PC backup database and click the Restore Option button. |
| 5. |
Select Devices, check at the terminal data audit list checker and select the date and time range for the clocking data that you want to restore. |
| 6. |
Check all checkers and click the Apply button. |
|
 |
| |
| Q. This error message might pop up when you open the TCMS V2 software: |
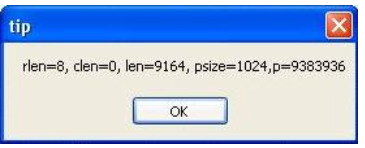 |
| Reason: The firewall at your PC might be on |
| |
| Solution: |
| You need to turn off the firewall at the PC before you open the TCMSv2 software. |
| |
| Q. This error message might pop up during editing of the attendance sheet. |
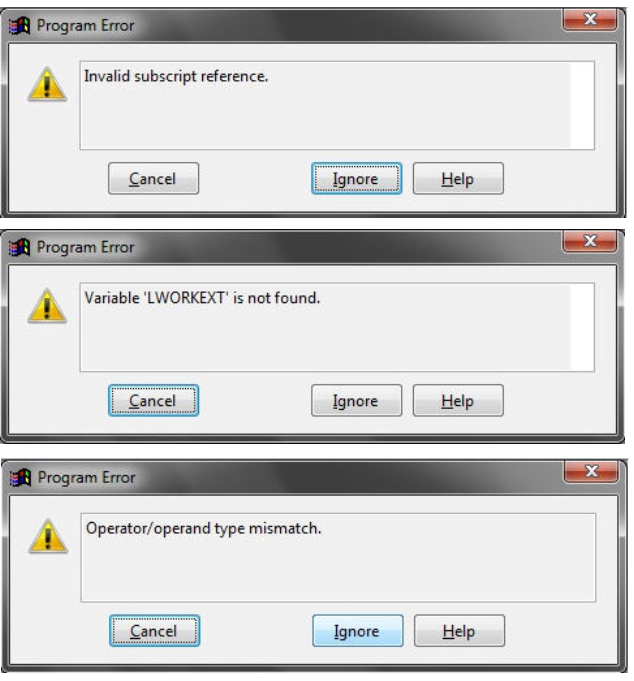 |
| Reason: Unknow |
| |
| Solution: |
| Please go to Configuration and double click at the "re-build database indexes” to check whether the error message is still available or not. If the situation remains; you need to reinstall the TCMSv2 software with the latest setup file.
To reinstall:
|
| 1. |
Backup database from the existing TCMSv2 software. |
| 2. |
Uninstall the TCMSv2 and delete the TCMSv2 folder. |
| 3. |
Download the latest setup file at https://user.fingertec.com > Software update > I. TCMSv2.2 or https://tips.fingertec.com > Download Software > I. TCMSv2.2 |
| 4. |
Extract the file. |
| 5. |
Install the TCMSv2 with the latest setup file. |
| 6. |
Do terminal activation for one terminal. |
| 7. |
Restore the backup database. |
|
| |
| If the condition does not change, please provide us the backup database or the TCMSv2 folder so we could perform a check. |
| |
| Q. “Time period deny” message appears after someone uses a FingerTec terminal.
Problem: This could be due to the time zone setting, where the user is placed under a certain time zone.
Solution: Please check the time zone setting in the terminal and correct the setting for that particular employee. |
| |
| If you have not been using the time zone setting, please update the terminal with the default time zone from the TCMSv2. |
| 1. |
Download user template to the TCMSv2 software in user management. |
| 2. |
Save the changes. |
| 3. |
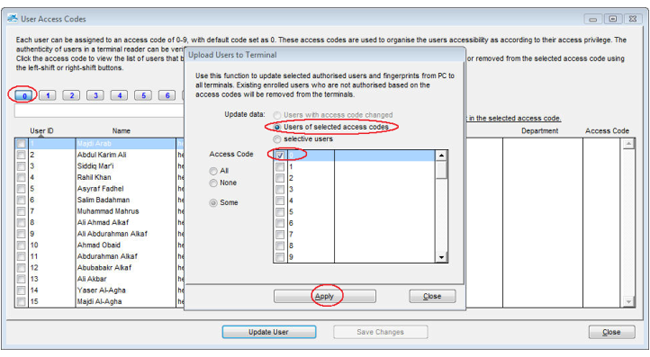
Go to User Access Code, make sure that all users are in access code “0” and update the changes to the terminal. |
|
 |
| |
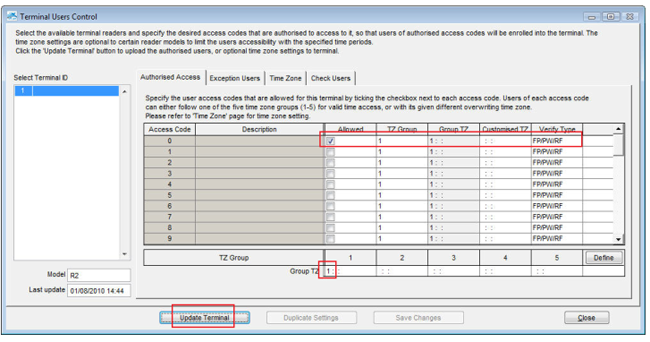
| 4. |
Go to the Terminal Users Control, configure as below and update the changes to the terminal. |
|
 |
| |
|